Anyone can build you a website, but only we can build you Your Right Website. Our unique process ensures that your website will not only be beautiful and functional, but also a problem solving powerhouse.
We have an eight-step process to ensure that when you choose Your Right Website, you get a website that is tailored to your business’ specific needs. Throughout the process we’ll be by your side and hold your hand every step of the way.
Click on a step below to learn more about that part of the web design process, or read on to go through the process from start to finish.
Step 1: Initial Consultation
Every website build begins with a conversation. The initial consultation is where we get to know more about your project, your business and your specific needs for the project. This is also where you get to know us and ask us questions. We encourage you to ask us any questions you may have during this step as well as anywhere else in the process, as we’re always happy to answer questions.
We’ll learn about your business and your goals for the future as well as your goals for your website. We’ll ask questions about your business and how you acquire customers as well as any pain points you may have. At this stage we start thinking about how we’ll deliver a solution that is going to meet your needs and exceed your expectations.
Step 2: Discovery and Requirements Gathering
After the initial consultation, the next step in the process is to dive deep into your business’ needs. This is done via a more in-depth discovery process where we ask specific questions to help ensure that your website is going to solve your business’ problems.
This stage will vary project to project. If you chose one of our website design packages then there might not be a lot of discovery or additional requirements that need to be defined, depending on how the initial consultation went. However, if you chose custom development then you can expect this process to be very detailed and in-depth as we learn the ins-and-outs of your business and the custom solution you wish to develop.
Depending on the project type, signing of a web development contract may happen either before, during or after this step in the process, once we know the scope of your project and feel confident that we can provide a solution and understand your needs well enough to provide a cost estimate.
Step 3: Wireframing, Design and Content
It is at this step of the project that you can start to see what your website might look like. If you’ve chosen one of our web design packages, we’ll start off by working with you to identify the content areas you need on your website. If you have existing content and imagery, we’ll work on determining the best places on the site to place this content. If you don’t have content, this phase of the project will help you see options for how content can be placed on the site.
We can help you write some basic copy and select stock photos for use on your site, but it’s always best if you write your own content and supply your own imagery. You know your business best, after all. Heartfelt content and real imagery help to personalize your business with your visitors. You write your content and provide the images and we’ll determine how to best display it on your website.
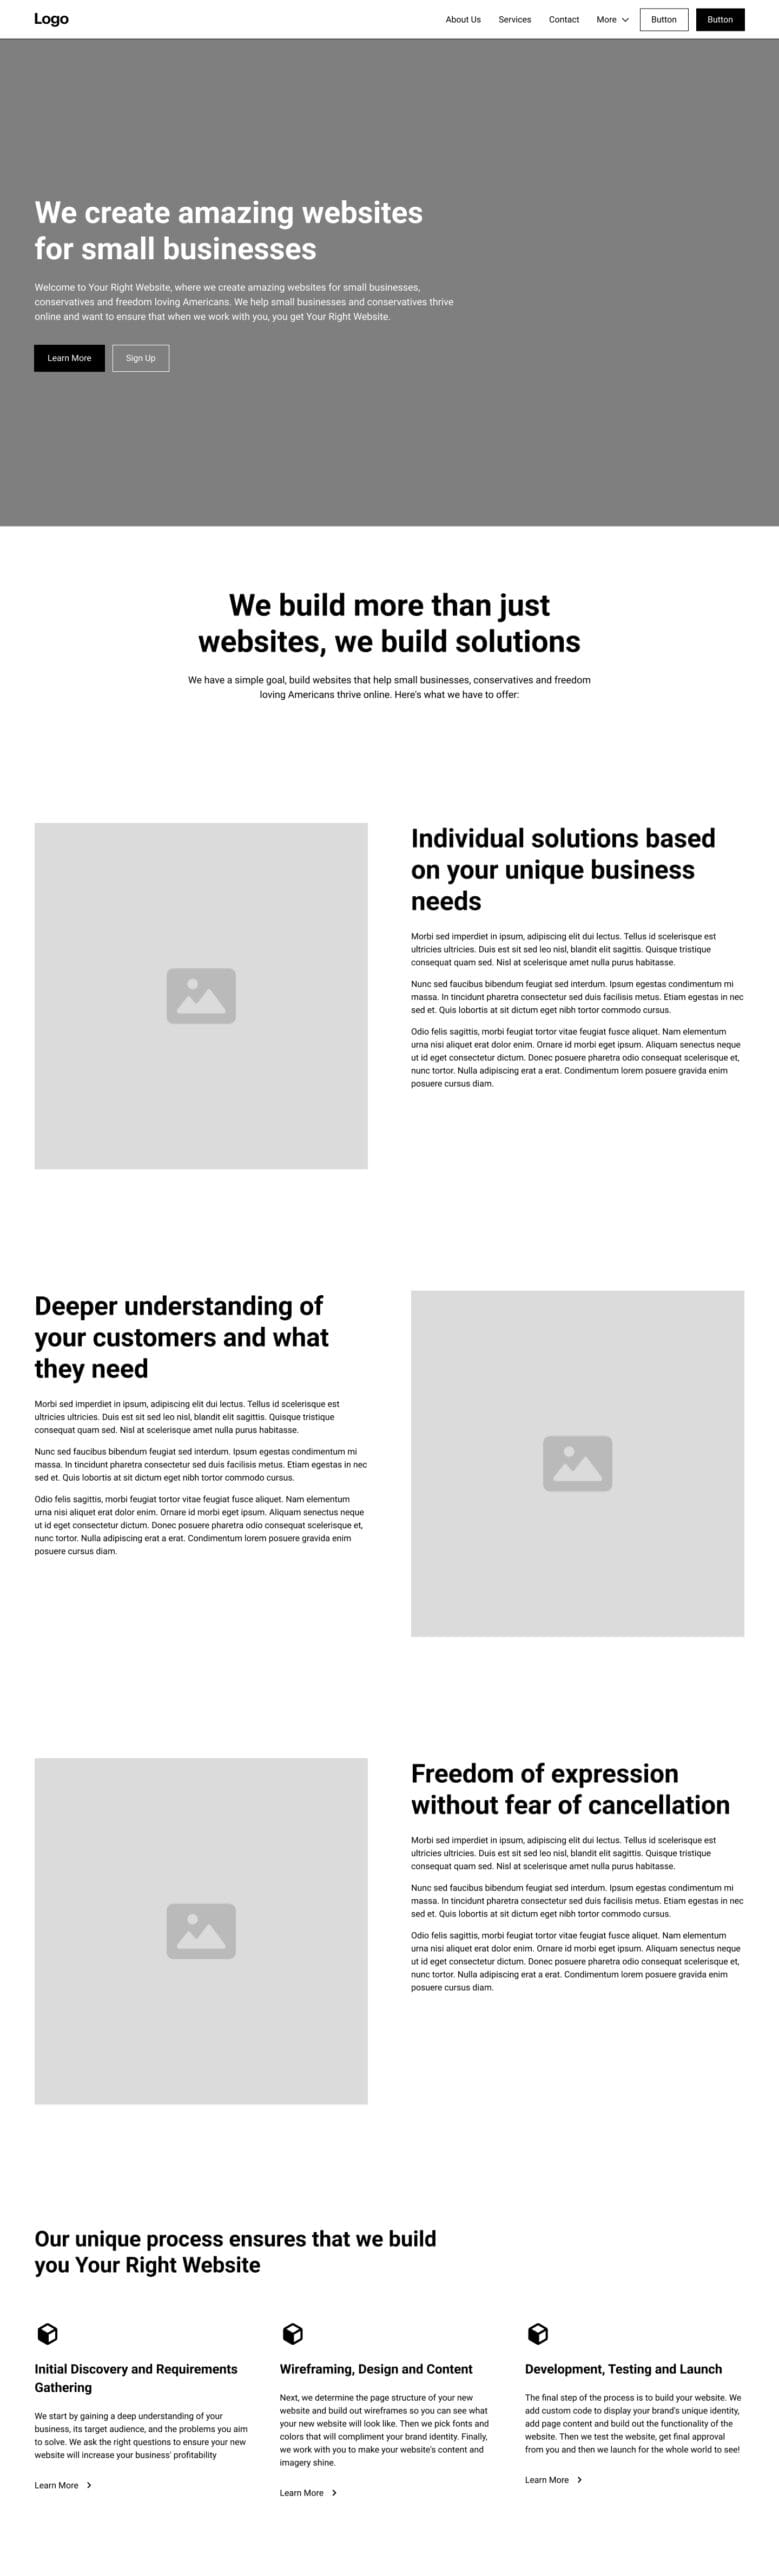
Wireframing
One way we help our clients see what their site will look like before we start development is through a process called wireframing. Think of a wireframe as a “rough sketch” of what your website will look like. It’s not meant to be an exact replica of what your site will look like, but it will give you an idea of an approximate layout for your site and is used as a starting point by us as we build out your site.
Typography and Colors
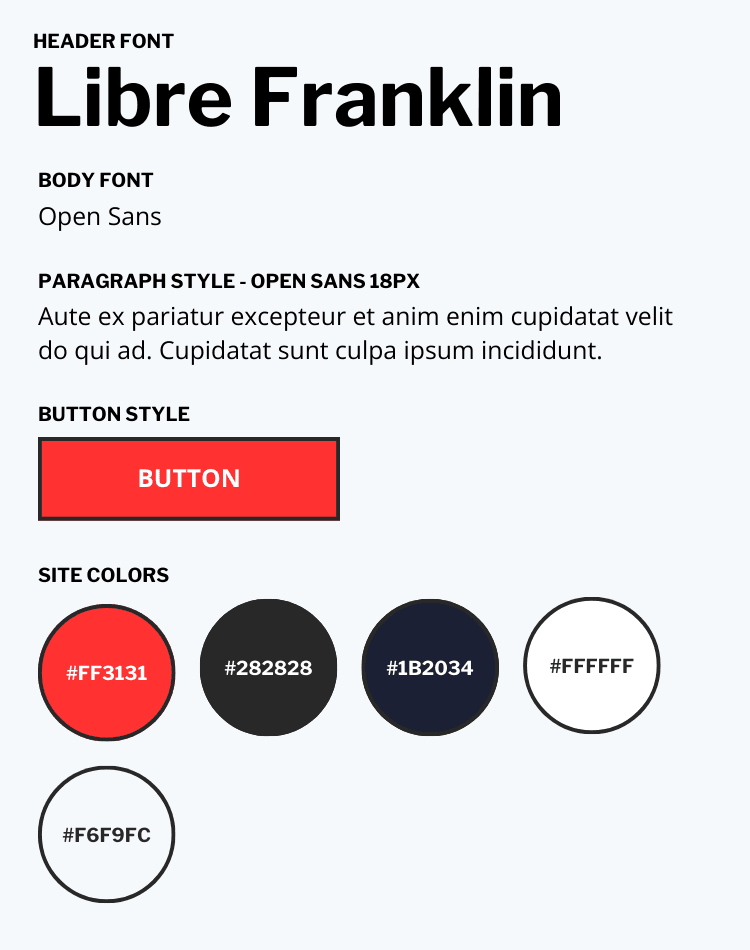
During the design phase of the project is when the typography (fonts) for your website are chosen, as well as the colors that will be used. If you have an existing brand identity or logo, we’ll typically use that as a starting point for determining fonts and colors. If, however, you do not have a defined brand then we will work with you to determine the fonts and colors that will best represent your brand online.
Typically, a website will have a color palette of no more than five colors. Some colors are always required, like white and black. Then you have your primary accent, secondary accent and primary gray. You can see this in action on this website, where we use black and white, as well as a primary color of red, a secondary color of blue and a gray accent color.
We will also work with you to determine the typography and fonts that will be used on your site. During the design process, we’ll send over some font samples for you to view that show how your site’s headers and content would look in paragraph format. These samples can help you see what different fonts might look like on your website.
Step 4: Website Development
At this stage, we start the actual development of your website, using all of the information gathered in the previous steps of the process. We’ll begin building your website’s custom code and we’ll show you progress as we progress.
Typically we’ll build out your site’s homepage first, then show this to you to get your approval before moving on to the interior pages of the site. We’ll rely on you to quickly approve pages of the website as we present them to you to ensure that the project remains within scope and on time.
Step 5: Client Training
As we develop your website, we’ll also provide training on how to use the various features of the site as well as update the content and images as well as add your own. Depending on the size of your site and the package you have chosen, training may occur as we are developing your website or may occur after the final website has been completed.
We’ll show you via Zoom how to update every aspect of your website, including how to edit your content, add new pages using the templates provided with the site as well as manage your site’s menus and blog. We’ll also answer any questions you have about managing your new website.
Step 6: Website Testing and Launch Preparation
As we get closer to the launch of your website, we’ll ask that you go into the site and ensure that you can update the content yourself based on the instructions we provided during the client training. We’ll also ask that you go into the website and start testing each page and piece of functionality and ensure it works as is intended.
We’ll want you to test the website on as many different devices and screen sizes as you can. Test on your computer, test on your tablet, test on your phone. Then, let us know of any issues or bugs that come up during your testing. As you’re testing, we’ll also be doing additional testing to ensure that everything is working at 100%.
We’ll also begin preparations for launch of your new website. We’ll work with you to get your domain name set up and pointing to the right server. We’ll have a plan for the big day of what will happen and when so that launch goes off without a hitch.
Step 7: Website Launch
This is it, the moment we’ve both been waiting for! The website launch is when the website goes live for the whole world to see! If you’re hosting your site with us, we’ll flip the switch and make the site live for everyone to see.
If you’re hosting your site elsewhere, we’ll work with you to hand over files and ensure you have everything you need to host a copy of the website yourself on your own servers.
Step 8: After Launch Support and Warranty
If you host your website with us, you’ll receive a 30-day warranty on the site where any bugs that were not caught during the testing phase can be addressed at no charge.
We’ll also be available for extra support in the first 30 days to answer any “how do I” type questions you may have about your new website.
Beyond the first 30 days, we’ll still be available to answer any questions as well as make any functionality updates you wish to make to the site for an additional fee. Hopefully this isn’t the end of our relationship, but just the beginning!
And that’s it!
As you can see, we have a well-defined process in place to ensure that you get Your Right Website. We believe that anyone can build you a website, but only we can build you Your Right Website.
Ready to get starting building Your Right Website? Schedule a free consultation with us today!
Not quite ready to meet yet but still have questions? Reach out using our contact form and we’ll be happy to assist.